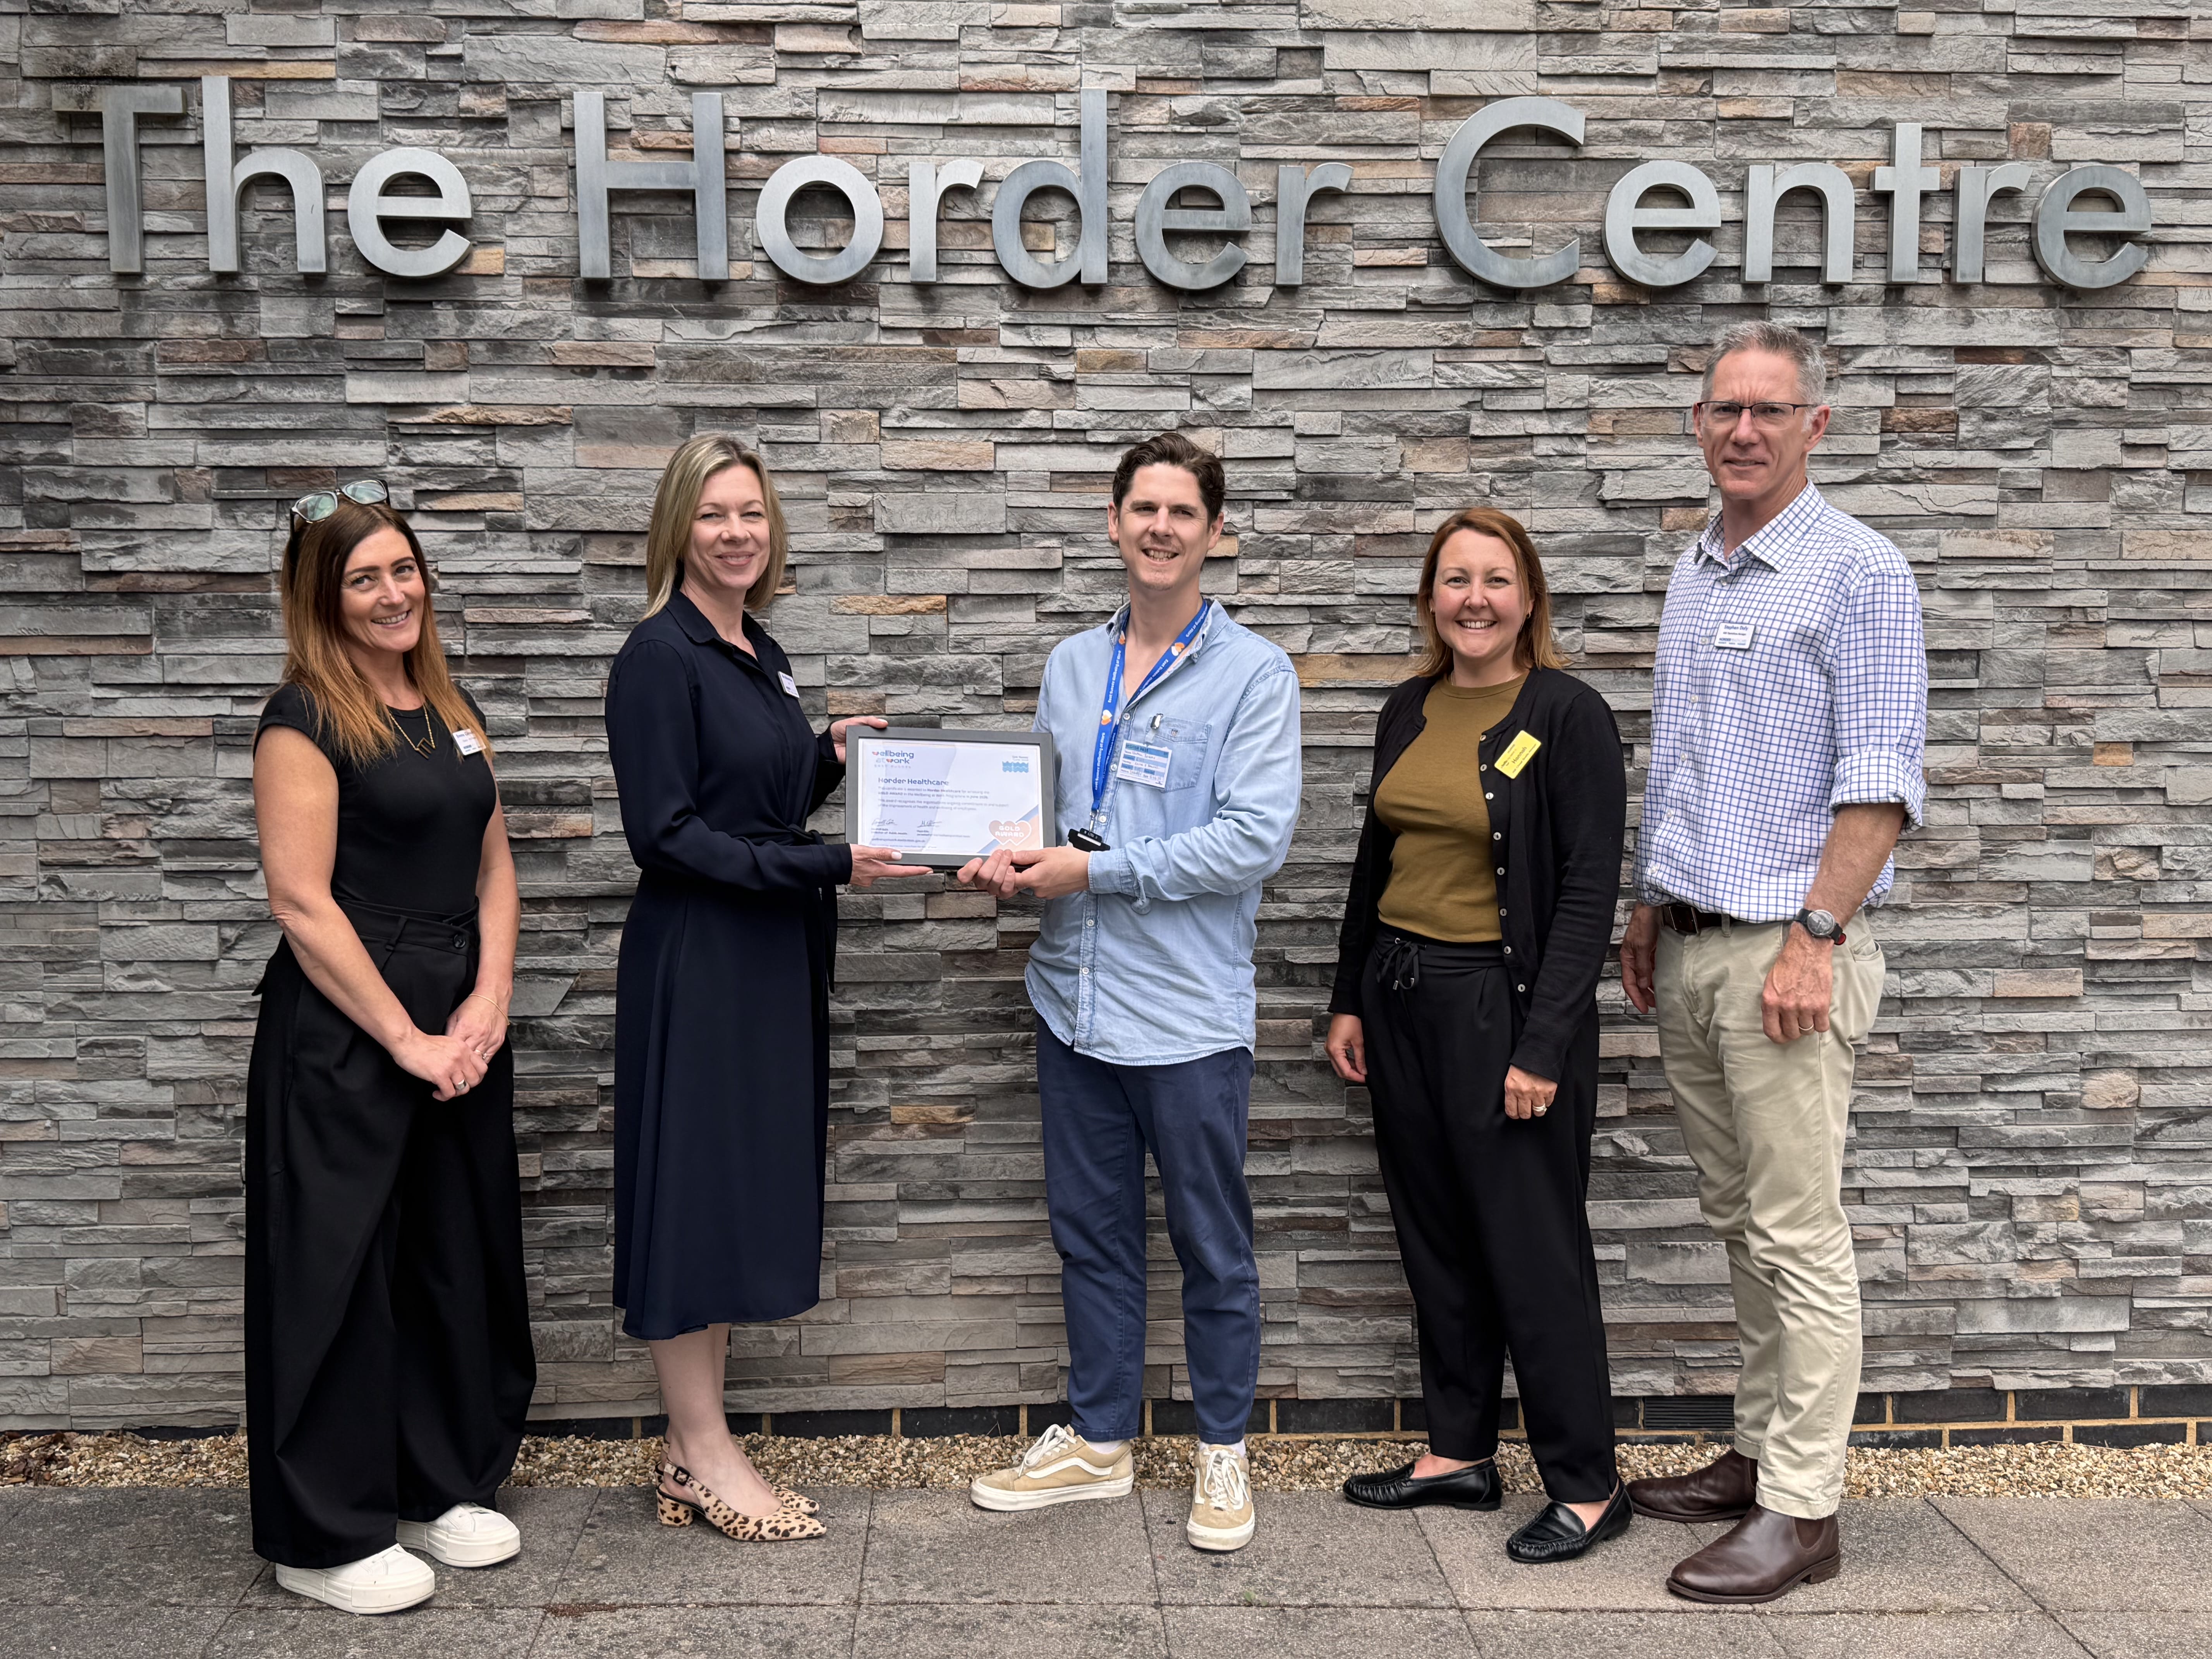
Welcome, my name is Deborah and I'm a physiotherapist here at Horder Healthcare and also a Pilates instructor affiliated with the APPI. This is Paula who's going to help demonstrate the exercises for us today for training pelvic stability. These are a great place to start if you are new to Pilates or if you have any low back pain. If any of these movements cause pain, stop and seek medical advice. You're just going to take a few moments to check your key elements in a lying position. So, we're going to first of all place the feet together, turn the toes out, well done, and bring the heels out in alignment with the toes. Good. So, now you should find that your feet are in alignment with your hips and your knees, you got a gap in between the knees. Check your head and neck placement. So if your chin is poking up, make sure you've got a little block or small cushion for underneath the head to allow the chin to drop down. Widen across those collarbones, check your shoulder blade placement, check your rib cage placement and also find that neutral position of that spine. So, if you want to just make a pelvic diamond puller, place your thumbs in your belly button, fingertips on the pubic bone and just tilt the pelvis towards you and away from you. Again, just do that a couple of times, check you're not lifting the ribcage and then find that mid position between the two movements. Lovely, well done. Place your hands back down by your side. So the first exercise we're going to start with is called hundreds level one. So I want you to take a breath in, Pula, breathe all the way out, set your center, lift and hover both arms off the mat, and then gently begin tapping into the mat. What I want you to do, Pula, is count to about ten repetitions of tapping onto the mat, and then you're going to lower the arms down. Okay. And again, breath in, breathe all the way out, engage your center, lift and hover the arms, and gently tapping onto the mat. So imagine you've got little bowls of water underneath your fingertips and you're tapping your fingertips into those bowls of water. Good. And again for me. So what you're trying to achieve is maintaining that neutral spine position and also maintaining the core engagement for about ten seconds. Let's do one more. Good. Well done. So you're aiming to do around ten repetitions of these exercises to really help build up the endurance of the core muscles. The next exercise is one leg stretch. So, Pula, take a breath in, breathe all the way out, set your centre and slide one foot away from you along the floor. Good. Breathe in to slide the heel back towards you. And now you're going repeat that on the opposite side. Good. So with this exercise, you're aiming to slide alternate legs. It's a little bit similar to a walking movement. You're using the same muscles as you would when you walk, so it's a really nice exercise to practise pelvic stability in a lying position, but ultimately when you're in a standing position and going for a walk. So check your neutral position as you slide the heel away. Check your pelvis is stable. You could think of a tray of drinks resting on your tummy with your favourite drinks resting there and you don't want to spill those drinks. Good. So let's just do one more on this side. Lovely. So, if you find you're not getting good stability around the pelvis, we can make that slightly easier. So, Paula, what I'd like you to do is demonstrate that for us. So, take a breath in, breathe all the way out and just slide the heel away just a small amount of distance and then slide the heel back. Good. And repeat that on the opposite leg. So, you're still keeping contact with the foot on the floor, but you're just making the movement slightly smaller. So you should feel a stronger sense of stability around the pelvis. Good. So let's just do one more either side, Paula. Good. Lovely. Still checking that you've got your five key elements in place. Well done. And back to your start position. So, the next exercise we're moving on to now is called hip twist level one. So, Paula, when you're ready, take a breath in, As you breathe out, set your centre and just gently allow the knee just to drop a couple of inches to the side. Good. And then bring the knee back to the start position. And on the opposite side. Lovely. Good. So breathe out to lower the knee, breathe in to bring the knee back. Good. And on the opposite side. So again, what you're looking for is to try and maintain pelvic stability. Now, if you find you're able to do that quite easily with a small movement, then what I want you to do, Paula, is take that knee further and further down, providing you can maintain that nice pelvic position. Good. Lovely. And as you can see, Paula's got her imaginary tray of her favorite drinks resting on her tummy, which she doesn't want to spill. Good. Again, check you've still got your neutral spine position and all your other key elements are in place. Good. And let's just do one more. Well done, Paula. And come back to your rest position. So, moving on to the last exercise in this section for pelvic stability, scissors level one. This is slightly more challenging as now we're going to lift the limb off the mat. So, Paula, when you're ready, I want you to take a breath in and as you breathe out, set your centre and I want you to float one leg up into what we call tabletop. Breathe in to hold. And as you breathe out, I want you to lower the foot back down onto the mat. And now repeat onto the opposite side. So keep going for me, Paula. Just check with this exercise that as you lift the knee up into tabletop, that you're not in fact flattening your back. You still want to try and maintain that nice neutral position of the spine. Relax your shoulders, good. Soften those ribs. Lovely. So again, you're looking to maintain that nice pelvic stability. You've still got that imaginary tray of drinks, just resting there as you lift and lower each leg. So let's just do one more either side, Paula. Good. And of course, you're still trying to maintain your core engagement. Lovely. Well done. Now, we can again make that exercise slightly easier. So, Paula, we're going to demonstrate that modification. So, in. As you breathe out, you're going to slide one heel towards the buttock and then lift the leg into tabletop. Lower the leg back down, good, and slide the foot back to your start position, then repeat on the opposite side, good. Now with this exercise, it just makes it slightly easier by making the leg feel lighter. And again, you should find you're more able to control that pelvic position with that easier modification. Good. So Paul, I'd like you just to do one more either side for me. So check, good, that you're coming back to that start position, lower the foot back down and then slide the heel back to that start position, good. And the last one, glide the heel back towards the buttock, float the knee up. Lovely. And then back to your rest position. Well done. Good.